Monday, April 6, 2009

Hybrid Breakfasts

Since I'm on a total roll, I'm gonna hit you with some breakfast insanity! Not too long ago, my sister introduced me to Artisan Bread in 5 Minutes a Day, an excellent cook book that makes bread baking practically painless. And really impressive. After making 3 loaves of perfect, crusty bread, I tried out this recipe. Twice. There is no messing with this version of eggs and toast.

Mmmm...steamy.
I won't get into the how to of this recipe, as it requires some extra prep, but I will continue to endorse this cookbook and heartily congratulate you if you go out and buy it.

In other breakfast news, waffles have been kind of big in our house lately. I bought Mark Bittman's How to Cook Everything, made his version of waffles, and nearly fell over when I read one of the 12 suggested variations on the standard waffle: 2-3 strips of bacon laid over the batter after it's been spread on the waffle iron...

Drool.

There was no way we weren't trying this. So here is the variation of the recipe I used (I have been trying to use some whole wheat flour in place of white for the healthies)...and a little food porn. I'll let you imagine how sweet that waffle iron sizzle sounded.

Buttermilk waffles with Bacon. (OMGOMG!)
2 cups flour (or half ww/white)
1/2 tsp salt
2 Tbsp sugar
1 1/2 cups yogurt thinned with 1/4 cup milk
2 eggs, separated
4 Tbsp butter, melted and cooled
1/2 tsp vanilla

Combine dry ingredients in a large bowl. In another bowl, whisk together yogurt/milk and egg yolks. Stir in butter and vanilla.
Grease the waffle iron and heat it. Stir the wet and dry ingredients together. Beat the egg whites with a whisk or electric mixer until soft peaks form. Fold them gently into the batter.

Spread enough batter onto waffle iron to barely cover it. Lay 2-3 strips of bacon over the batter. The bacon addition may add a minute or two to your regular waffle bacon baking time.

You cannot mess with this breakfast.

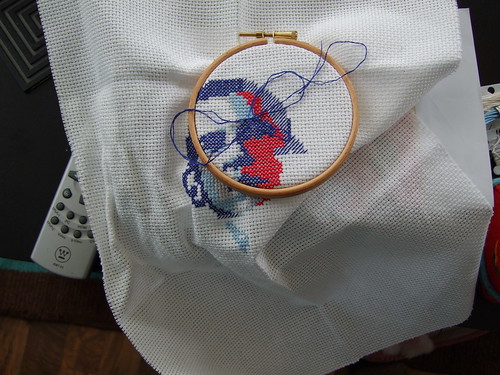
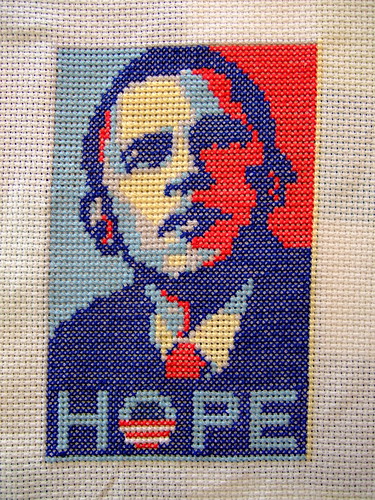
Progress. Or, Barack Obama the Cross Stitch.

I couldn't resist this ridiculous undertaking which was certainly my biggest cross stitch project ever. Pattern thanks to subversive cross stitch for giving away this free Obama pattern with orders. I started stitching tiny x's on January 20th, inauguration day, and finished it several weeks later.


I messed up the pattern and forgot to put the Obama "O" on the lapel. I am comforted to see that sublime stitching made the same mistake in their sample. I think it looks better as the "O" of Hope.

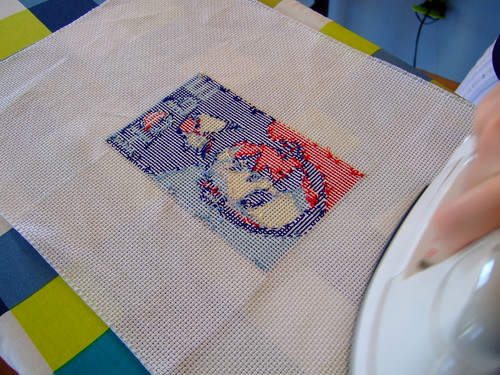
I love the incidental art that occurs on the back of a cross stitch--so many nicely organized straight little lines.

Blackberry Jamble Shortbread Bars


Do not ask me what a Jamble is. A Jamble Bar, however, I have recently become familiar with. This recipe comes from this cookbook my sister gave me for my birthday last year: Sticky, Chewy, Messy, Gooey: Desserts for the Serious Sweet Tooth. They are not kidding--I'm surprised they didn't throw "rotten toothy" to their list of adjectives. Not only is this book jam packed with recipes for delectable sweets that make your teeth hurt just to look at them, the design is also totally cute (polka dots and stripes). This wins major points in my book.

This recipe begins as all recipes should, with a pound of butter and two cups of sugar. How can you mess with that?!

Blackberry Jamble Shortbread Bars (makes 15 large or 30 small bars)

1 lb unsalted butter, at room temperature
1 cup firmly packed light brown sugar
1 cup granulated sugar
2 teaspoons pure vanilla extract
1 teaspoon salt
3 3/4 cups unbleached all-purpose flour
1 cup almond flour or very finely ground almonds (I ground almonds in a mini food processor)
1 1/2 cups blackberry preserves
1/2 cup chopped almonds
Confectioners' sugar for dusting (which I completely forgot about)

Combine the butter and sugars in a large bowl. Using an electric mixer set at medium-low speed, beat until creamy. Add the vanilla and salt and beat until combined. (I did this all in the food processor)

Beat the all-purpose and almond flours into the butter mixture on low speed, just until a smooth, soft dough forms.

Spray a 9x13" baking pan with cooking spray and press 1/3 of the dough evenly into the pan to form a bottom crust. Wrap the remaining dough in plastic wrap and refrigerate until very cold and firm, at least 30 minutes. (I recommend doing putting this in the fridge for 30 minutes, then baking the bottom crust, just to make sure it is done.)

Preheat oven to 325 degrees with rack in middle position.

Bake the bottom crust until it is firm and just beginning to turn pale brown around the edges, about 20 minutes. Remove the pan from the oven and spread the preserves evenly over the crust. Crumble the remaining shortbread dough over the jam to form a pebbly, crumbled topping. Sprinkle with the chopped almonds. Return the pan to the oven and bake for another 30 minutes, or until top is firm and crisp and lightly golden in color. Transfer to a wire rack and let cool to room temperature.
Cut with a sharp knife into 15 squares, then diagonally into 30 triangles if desired. Dust with confectioners' sugar and serve.

These bars will keep for 1 week at room temperature if covered, or up to 1 month in the freezer.


Friday, February 20, 2009

Back-tracking pt. 1: Cookies


In my blog-laze over the past months, I missed covering Thanksgiving and Christmas. I should be able to produce some kind of massive photo montage of the gastronomic insanity that was Thanksgiving (one word: Turducken), but the only thing I really photo-documented during Christmas was my favorite part: Christmas Cookies. We have been making the same recipe for as long as I can remember, and why would we change it? It is amazing.

Whenever I start making these I always believe there will never be enough cookies and make a double batch. I roped my sister and the in-laws into decorating a huge quantity of these cookies. I was careful not to thank them for their help until they were finished, because I didn't want the help to stop. So I will say it here and now: Thanks, you guys. Great work. I hope you do it again next year.

This recipe is credited to Mrs. Elmer L. Anderson, wife of former MN Governor, and is found in a 1974 church cookbook from my mom's library.

Roll Out Sugar Cookies That Never Stick

3 cups flour
1 cup butter
1 tsp baking soda
2 tsp cream of tartar (found in the spice aisle)
2 eggs
1 cup sugar
1 tsp vanilla

Mix flour, soda, tartar in food processor. Cut butter into dry ingredients, pulse a few times. Add eggs and sugar and mix together for just a few seconds until a dough ball forms.

Place dough in a bowl and cover snugly with plastic wrap. Refridgerate dough for at least 20 minutes, up to overnight.

When ready, preheat oven to 400 degrees. Roll dough out 1/8" thick on a floured surface. Use your favorite seasonal (or not) cookie cutters. Be sure you have a few cookie sheets available so you can keep working while each pan is baking. Bake for 8-10 minutes per pan, but watch carefully and remove from oven when cookies start to brown. They burn really quickly, which makes everyone sad.


As for frosting, my technique is a little vague. The ingredients are powdered sugar, milk, butter, and cream cheese. I usually start with about 2-3 cups of powdered sugar, toss it in the food processor with a brick of cream cheese, half a stick of butter, and then thin it out with milk as necessary. You want it to be thin enough to spread a thin layer on the cookie, but thick enough that it doesn't fall right off. Plus you need to consider that it should be able to hold your decorations of choice. Then mix a couple of separate bowls with a few drops of food coloring of your choice. Does that help? Should we call it medium frosting?

Decorating is clearly my favorite part, my frosting friends can verify that I am a total slave driver in this department. But it is only because I love how creative people get when they are doing this stuff. Laura's MN Nice is my pick for best cookie this year. Congrats, Laura!

Thursday, February 19, 2009

Chicken Soup For Your Mouth


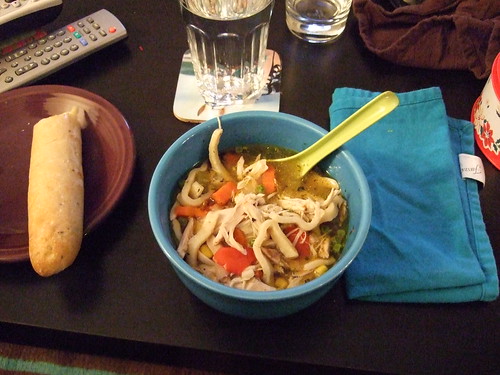
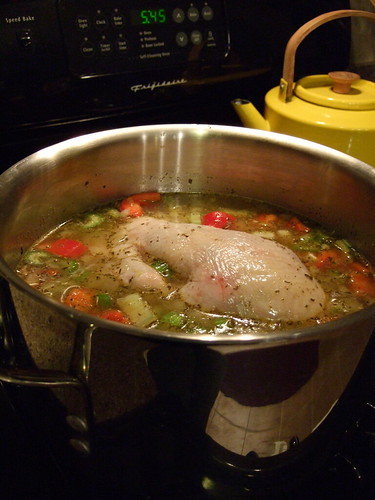
Hey. You know what is really, really good? Chicken soup. And apparently it is good for you too. For your soul. And your hunger. This particular recipe came from the wrapper of one of those 5 pound roaster chickens. I made some modifications based on what I had in the freezer, and added about three times the amount of noodles recommended because they are SO GOOD. I made this once and then made it again a week later because I couldn't stop thinking about it.


2 Tbsp olive oil
1 c. sliced carrots
1 c. chopped onions
1 c. sliced celery
1 chopped red pepper
1 4-5 lb chicken
10 c. water (part or all can be broth, I used about half broth)
1 Tbsp salt
3/4 c (or the whole bag) frozen egg noodles
3/4 c. peas
3/4 c. frozen or canned corn
1/2 tsp thyme (plus other spices--I used rosemary and herbes de provence)

Saute carrots, onions, celery, peppers in oil for about 5 minutes or until tender. Add chicken, water/broth, salt & pepper, and spices. Bring to a boil. Cover and simmer for 1 1/2 hours.


Remove the chicken and skim the fat (I don't really get how to do this yet). Bring to a boil again and add noodles, peas and corn. Boil vigorously for about 10 minutes or until noodles are tender. This may take a little longer if you are using an entire bag of noodles, which I recommend.
Meanwhile, take the meat off the chicken, discard the skin and bones, and shred the meat. Add the chicken back to the soup and enjoy!

This makes quite a lot of soup, so there will be leftovers. Since there is so many noodles, a lot of the liquid gets absorbed while saving. When I reheat this, I rehydrate it with a little extra broth. I like using beef or veggie broth to change the flavor just a little bit. MMMM...soup.

Monday, February 9, 2009

Tamale Pie vs. Tamale Pie


Oh hey! Remember how I have a blog? Sorry, I got a little distracted for a while there. Fear not, I have been making things at my usual break neck speed. Thanks to all of you who kept checking in on the blog despite my laziness. You really would think I would have upped my game when the blog was mentioned in the family Christmas letter.

Anyway, today I thought I would share a side-by-side comparison of two recent hot dishes ('tis the season for hot dish, aka winter)--Tamale Pie times two.

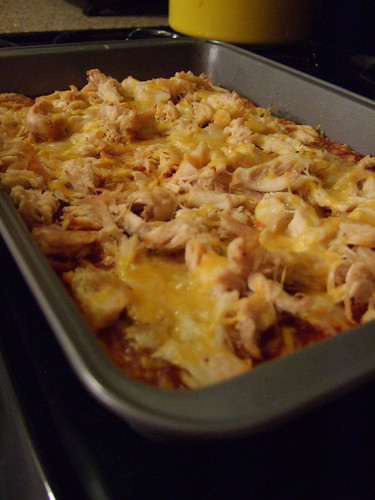
The first comes from Cooking Light Magazine. I made this for the first time a few months ago and Steve declared it one of his favorites out of everything I had ever cooked.


Chicken Tamale Casserole

1 cup preshredded mexican blend cheese, divided
1/2 cup fat free milk
1/4 cup egg substitue (I used 1 egg)
1 tsp ground cumin
1/8 tsp ground red pepper
1 can (14 3/4 oz) cream-style corn
1 (8.5 oz) box corn muffin mix
1 (4 oz) can chopped green chiles, drained
Cooking spray
1 (10-oz) can enchilada sauce
2 cups shredded cooked chicken breast
1/2 cup fat-free sour cream

Preheat oven to 400. Combine 1/4 cup cheese with next 7 ingredients (through green chiles). Stir until just moist. Pour mixture into a 13"x9" pan coated with cooking spray. Bake at 400 for 15 minutes or until set.
Pierce entire surface with a fork; pour enchilada sauce over top. Top with chicken; sprinkle with remaining 3/4 cup cheese (or if you are me, more). Bake at 400 for 15 minutes or until cheese melts. Remove, let sit for 5 minutes. Cut into squares and serve topped with sour cream. Serves 8.

Like I said, this was pretty popular in our house. I kind of think corn bread should be prepared in the way the base of this dish is for regular old corn bread purposes. The only problem I found with it was that it didn't really satiate my hunger for a long period of time. I decided to look for other options with more stuff in them. As always, The Joy of Cooking comes to the rescue.

Corn Bread Tamale Pie


Saute in a large skillet over med-high heat:
1 lb ground beef (I used ground turkey)
1 medium onion, chopped

When meat is browned and the onion translucent, about 10 minutes, add:
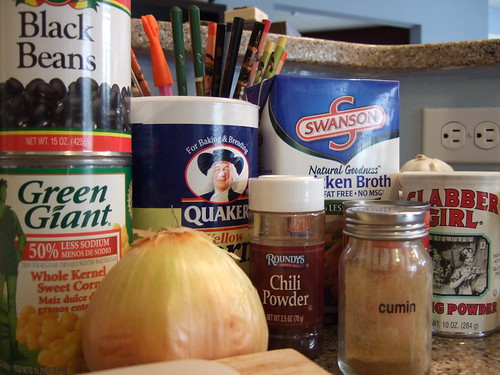
1 can black beans, drained and rinsed
1 can drained canned or frozen corn
1 cup tomato sauce
1 cup water or broth
1 Tbsp chili powder
1/2 tsp ground cumin
1 tsp salt
1/4 tsp black pepper

Simmer 15 minutes. Set aside. Preheat oven to 450.
In a medium bowl, whisk together:
3/4 cup corn meal
1 Tbsp flour
1 Tbsp sugar
1.5 tsp baking powder
1/2 tsp salt

In a small bowl, whisk together until well blended:
1 egg, 1/3 cup milk, and 1 Tbsp vegetable oil

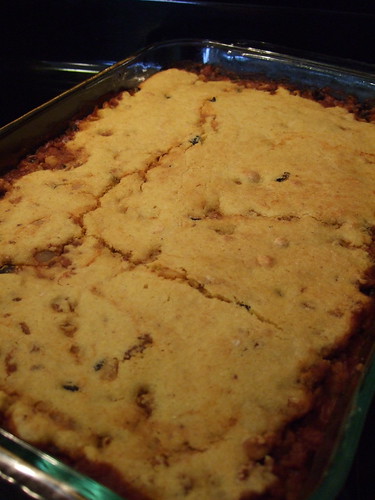
Pour the wet ingredients over the dry and whisk until well combined. Spread the meat mixture in a greased 3-quart casserole and cover with the corn bread topping. The topping will (supposedly) disappear into the meat mixture but will rise during baking and form a layer of corn bread. Bake until corn bread is brown, 20-25 minutes.


OK, this one did not work out as well as I had hoped. First of all there seemed to be waaay too much of the meat mixture, and then there wasn't enough of the corn bread to even cover the whole top of the casserole. So I decided to double the corn bread part of the recipe, which made the whole thing pretty dry. So fail on my part, but we ate it anyway. This was a while ago so I can't really remember what we did to remedy the dry corn bread problem, but it seems like just reheating it with a little broth or enchilada sauce would make it all better.

Cooking light wins this round.

Tuesday, December 2, 2008

Like Father, Like Son

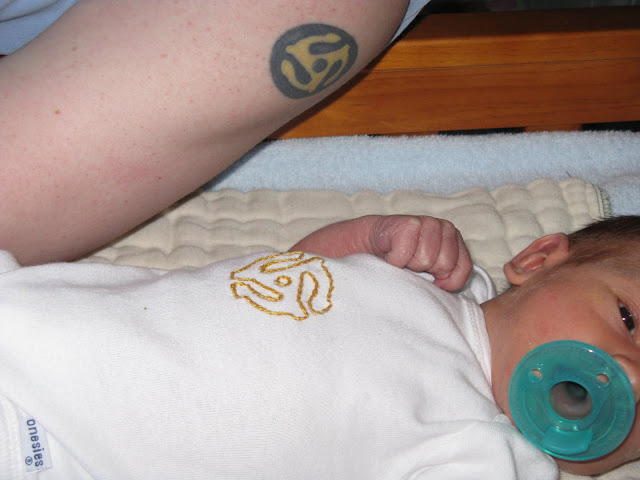
My friend Derek and his wife had a baby last week, named Harrison. I made a onesie to commemorate Derek's first tattoo, and kindly asked that he send me a picture of said onesie and said tattoo when they got around to it (apparently babies take up a lot of time or something). They got right to it! Congrats, you guys.

Saturday, November 29, 2008

Mexican Coffee

Mi Amiga Mary directed me to this delicious Mexican Coffee recipe. I had to convert the measurements from mL to tsp, but I think everything worked out as it should.

1/2 cup ground coffee beans
1/3 cup chocolate syrup
1 Tbsp cinnamon
1 cup milk
4 Tbsp brown sugar
1/4 tsp nutmeg
1 tsp vanilla

In coffee filter, mix coffee grounds, cinnamon, and nutmeg. Brew coffee as usual (I made 8 cups). Combine milk, chocolate syrup, and brown sugar
in saucepan over medium heat. Stir until sugar is dissolved. Pour sugar mixture into hot coffee(or vice versa), add vanilla.

This is delicious. Next time I make it I might toss a pinch of cayenne pepper in with the coffee to give it a little more of a kick.


Anticipation Cookies


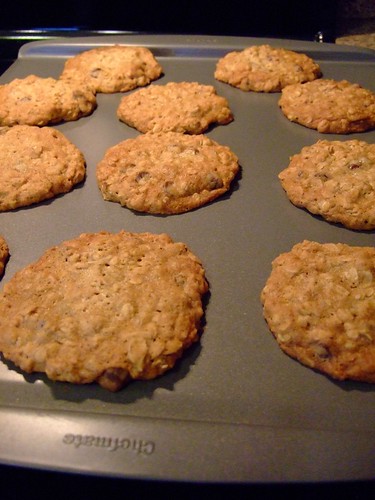
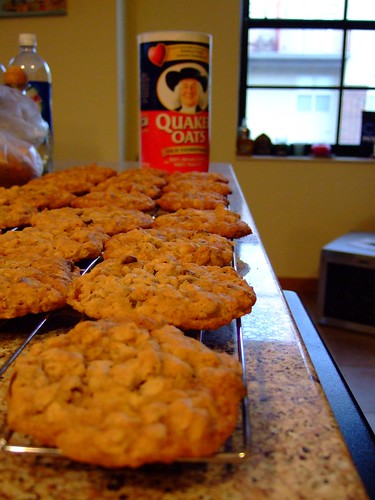
On Election Day (hereafter referred to as "Obama Day"), I took the day off work so I could be sure to vote. I walked to my polling place at 10 am, voted in less than 5 minutes, then started freaking out because THERE WAS NOTHING MORE I COULD DO. I realize this is not entirely true, but since I was suffering from election exhaustion and could not bear the idea of braving the streets to beg others to vote on my party's lines. I did make some calls from the Obama site, which made me feel a little better, but also creeped out by the fact that it was so easy to get people's first and last names, phone number, age and sex. And polling place. Anyway, I passed a little more time by baking cookies. This particular recipe comes from the inside of the oatmeal container and is called "Vanishing Oatmeal Cookies." Magic!

-2 sticks softened butter
-1 cup firmly packed brown sugar

-1/2 cup granulated sugar
-2 eggs
-1 teaspoon vanilla
-1 1/2 cups flour
-1 teaspoon baking soda
-1 teaspoon cinnamon
-1/2 teaspoon salt
-3 cups oats
-1 cup raisins (I used the rest of what I had, plus handfuls of chocolate chips and walnuts)

Heat oven to 350. Beat together butter and sugars until creamy. Add eggs and vanilla; beat well. Combine flour, baking soda, cinnamon and salt, add to egg mixture. Mix well. Stir in oats and raisins, etc. Drop in rounded tablespoons onto an un-greased cookie sheet (I used an ice cream scoop for ease and extra large cookies). Bake 10-12 minutes or until golden brown. Cool one minute on cookie sheet, then transfer to wire rack.

They worked! Obamarama!

Tuesday, October 28, 2008

Egg rolls that aren't so bad for you


I've always been kind of grossed out by the frying process when it happens in my home. The first time I made egg rolls, I fried them in vegetable oil on my stove top in a college apartment, burned half the wonton wrappers, and had to live with the odor of burnt oil for what may have been weeks. Plus the oil splattered all over the stove, which was not fun to clean up, and probably got a few dirty looks from my roommates. Oops. To my disappointment, I really like both making and eating egg rolls, so I searched far and wide (google) for a solution.
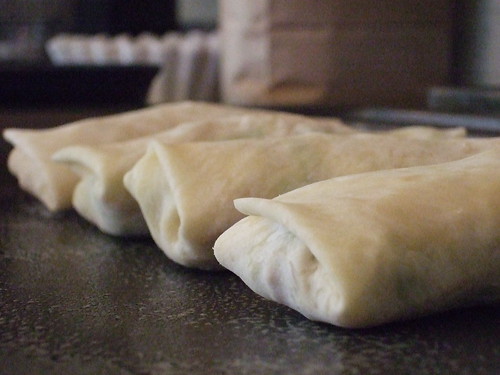
I found it! Instead of frying the egg rolls, I bake them! The first attempt involved brushing the egg rolls with vegetable oil and then baking them. The result was OK, but not great. They were not very crispy and tended to fall apart. Plus, still covered in oil and probably not that great for you. My search continued (google). Finally I came across a recipe that involves baking the egg rolls, but instead of brushing them with oil, you brush them with an egg wash. They do not turn out as crispy, nor do they give you the satiety produced by a crispy greasy mouth full of fat. But again, going for a little health here. They do, however, maintain a solid wrapper for the tasty innards of your egg roll.

You can pick from a variety of items for egg roll stuffing. My recipe usually involves ground turkey, shredded cabbage, grated carrots, and some kind of peanut sauce. I cook the ground turkey first with some chopped onions and pressed garlic, salt, pepper, and cumin to taste.

The cabbage and carrots are easily sliced and diced using the appropriate food processor blades. Mix all ingredients together in a big bowl, add pre-made peanut sauce (or, if you have your own recipe for peanut sauce, please let me know).

Egg roll wonton wrappers are usually pretty readily available in the produce section of the grocery store. I am not even going to try to explain how to wrap these things, there is a really good visual aid on the back of the wrapper packaging.

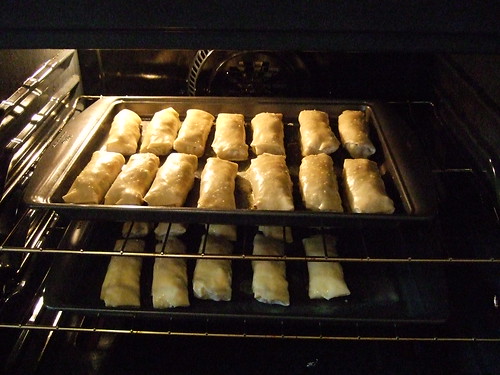
Arrange the egg rolls on a lightly greased baking sheet. Whisk one egg in a small bowl, brush liberally over the tops of the egg rolls. Use another egg if necessary. It is ok if some of the egg mix collects under the eggrolls, it adds a little scrambled egg taste that is pretty familiar in stirfry or fried rice. aka, yum.

I baked these at 350 for about 15 minutes. The finished egg rolls have a shiny appearance and are good to eat.

I have to confess that these things do not keep as well in the fridge as fried egg rolls do, so try to eat them all in one sitting or have a party or something.


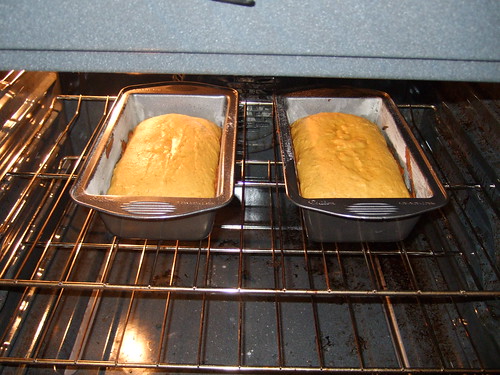
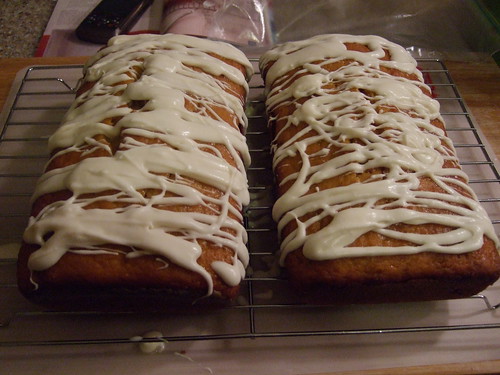
Ginger Pumpkin Bread


Thanks to Everyday Food Magazine for winning me all sorts of compliments on this tasty fall-flavored bread.

Ingredients:
12 tablespoons unsalted butter (1.5 sticks), melted, plus more for pan
2.5 cups all-purpose flour, plus more for pan
2 teaspoons baking powder
2 teaspoons ground ginger (I usually use the prepared kind that is in a tube in the produce section, fresh grated ginger works too)
1 teaspoon salt
1 cup granulated sugar
1 cup packed light brown sugar
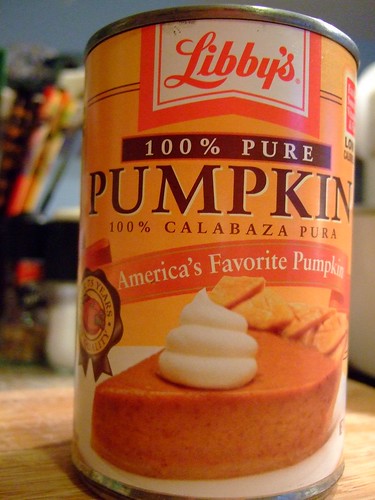
1 can (15 oz.) pumpkin puree
3 large eggs

Preheat oven to 375. Butter and flour two 8.5 x 4.5 inch (6 cup) loaf pans, set aside. In a large bowl, whisk together flour, baking powder, ginger, and salt. In a medium bowl, whisk together sugars, pumpkin, melted butter, and eggs; add flour mixture, and stir until just combined (If using fresh ginger, mix with 2nd bowl of ingredients).

Divide batter between 2 prepared pans. Bake 50-60 minutes, or until it passes the toothpick test. Let cool 10 minutes, then transfer to a wire rack to cool completely. Drizzle with sugar glaze (below).

Sugar Glaze
In a small bowl, mix 1.5 cups powdered sugar with 2-3 tablespoons water until mixture is smooth but thick. I have also tried this with milk for a creamier texture. Drizzle over loaves and let dry for 15 minutes before serving.

Pets

Most people probably know that Steve and I are proud owners of the cutest dog on the planet, Dr. Cornelius Gibson. Here is the best picture I have ever taken of him.


And here is a picture of his cousin, a Grizzly Bear at the Minnesota Zoo.